

This article was originally published by Greg Fousas and Michelle Tanco on Medium and reviewed by Martin Turoci (unusualcode)
This guide will demonstrate how to deploy a WAVE app on an AWS EC2 instance. WAVE can run on many different OSs (macOS, Linux, Windows) and architectures (Mac, PC). In this document, Ubuntu Linux will be used.
This post uses several open-source WAVE apps, which can be found in the relevant links. The purpose of these apps is to help the user understand and learn WAVE (especially the learn/h2o_wave_university app/capability; see below)
Create an EC2 instance.
The below instructions will create an EC2 server by using the default settings wherever possible. Different settings might be needed depending on the nature of the WAVE app.
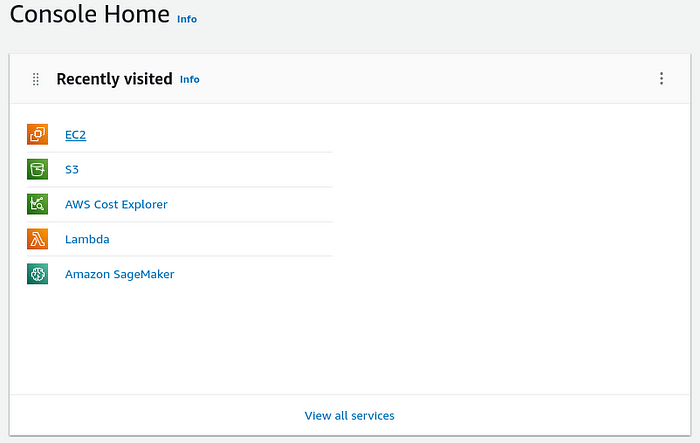
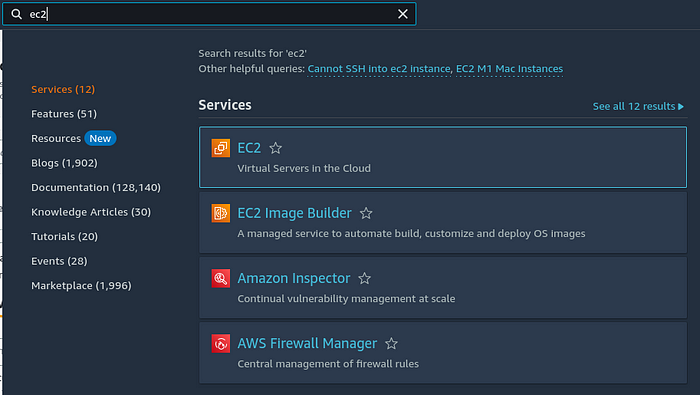
In AWS console, select EC2 orsearch and select it from the search field.
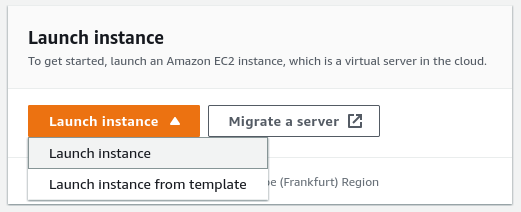
Click Launch instance
On the next page:
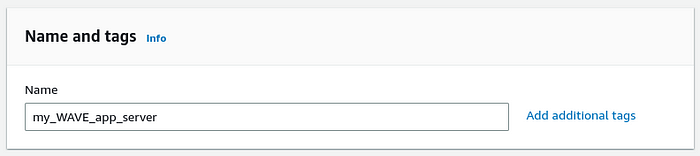
- Choose the name of the server
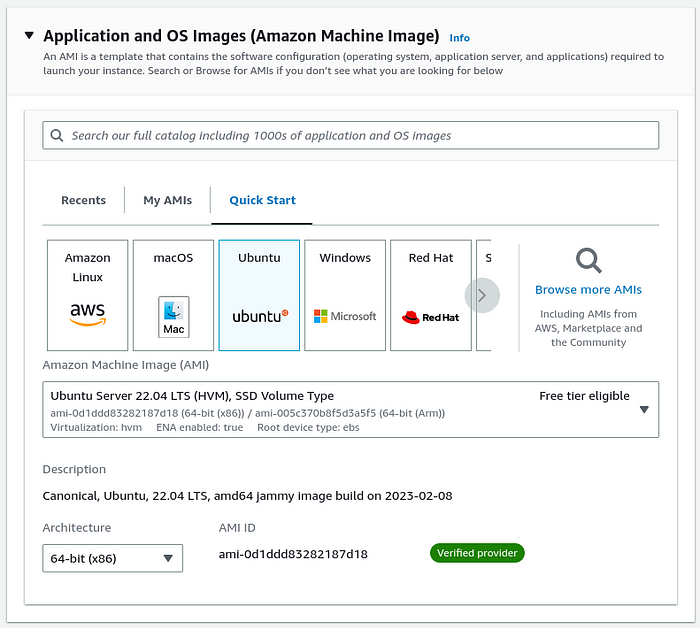
- Choose the OS of the server. Ubuntu 22.04 LTS is selected in this guide.
- Choose the Instance type of the server. This decision should be based on the resources (e.g. CPUs and RAM) the WAVE app is going to need. A good practice is to start small and then increase this based on resource utilisation. t2.micro is going to be used in this guide.
- Choose the Key pair if you want to use an existing one or create a new one. In this guide, we create and download a new one. This will make the ssh connection to the server possible and secure.
- Leave the Network settings as they are. In a next step, the ports that are required will be opened.
- Add more storage if required by the WAVE app. Similarly to the instance type, a good practice is to start small and then increase the storage capacity based on the app’s needs.
- Do not change any of the Advanced details and click Launch instance again.
Connect to the EC2 instance and install WAVE
This section walks the reader through connecting to the instance created above, installing the WAVE server, and testing accessing it.
- Find the Public IPv4 address or the Public IPv4 DNS in the Details section of the EC2 instance.
# Be sure that you are in the directory where my_WAVE_app_server_key.pem is
# The below has to be run just the first time the key is used to change its permission
$ chmod 600 my_WAVE_app_server_key.pem
# Connect to the instance
$ ssh -i my_WAVE_app_server_key.pem ubuntu@18.206.192.13
# Update ubuntu packages list
$ sudo apt-get update
# Install python2-venv, alternatively conda could be used, see the above link for more details
$ sudo apt-get install python3-venv
# Create the python virtual environment
$ python3 -m venv venv
# Activate the environment
$ source venv/bin/activate
# Install WAVE in the python virtual environment
$ pip install h2o-wave
# Install h2o wave university
$ pip install h2o_wave_university
# Run wave university
$ wave learn
$ wave learn
2023/02/13 16:04:54 #
2023/02/13 16:04:54 # ┌────────────────┐ H2O Wave
2023/02/13 16:04:54 # │ ┐┌┐┐┌─┐┌ ┌┌─┐ │ 0.24.2 20221209122225
2023/02/13 16:04:54 # │ └┘└┘└─└└─┘└── │ © 2021 H2O.ai, Inc.
2023/02/13 16:04:54 # └────────────────┘
2023/02/13 16:04:54 # ┌──────────────────────────────────────┐
2023/02/13 16:04:54 # │ Running at http://localhost:10101/ │
2023/02/13 16:04:54 # └──────────────────────────────────────┘
2023/02/13 16:04:54 # {"address":"assets/","source":"./h2o_wave_university/static/","t":"public_dir"}
2023/02/13 16:04:54 # {"address":":10101","base-url":"/","t":"listen","web-dir":"/home/ubuntu/venv/www"}
INFO: Started server process [2081]
INFO: Waiting for application startup.
2023/02/13 16:04:55 # {"host":"http://127.0.0.1:8000","route":"/","t":"app_add"}
INFO: Application startup complete.
INFO: Uvicorn running on http://127.0.0.1:8000 (Press CTRL+C to quit)
- The next step is to open the relative port (WAVE’s default port is 10101) of the EC2 instance. On the page of the EC2 service under Security, click the Security group.
- On the next page, select Edit inbound rules
- Click Add rule
- Select Type:Custom TCP, Port range: 10101, Source:Anywhere-IPv4, and Save rules
- Now WAVE can be accessed on <Public IPv4 DNS>:10101, in the above example, this is: ec2–18–206–192–13.compute-1.amazonaws.com:10101
- The app can be stopped by pressing ctrl+c in the terminal
Run a WAVE app
This section will walk the reader through various ways of creating a WAVE app, running it, and testing it is working.
Run a WAVE app with a head start by using the wave init capability
wave init command picks predefined app templates that will bootstrap your first app and give you a head start when building your Wave apps.
- Connect to the EC2 instance
# Connect to the instance
$ ssh -i my_WAVE_app_server_key.pem ubuntu@18.206.192.13
# If a virtual environment exists then just activate it
$ source venv/bin/activate
# Otherwise create a new one, activate it and install h2o-wave
$ python3 -m venv venv
$ source venv/bin/activate
$ pip install h2o-wave
- Start wave init and select one of the available apps.
- Access the app on <Public IPv4 DNS>: 10101, in the above example, this is: ec2–18–206–192–13.compute-1.amazonaws.com:10101
- The code of the app created automatically by the wave init command is saved in a file called app.py.
Run a WAVE app from a GitHub repo
To demonstrate this capability, the https://github.com/vopani/waveton repo will be used. This repo showcases 100 Wave applications on various data science and machine learning workstreams for beginners, intermediates as well as experts.
In particular, the https://github.com/vopani/waveton/tree/main/apps/skeleton_apps/basic_template will be used. The instructions given in the app’s link will be followed below.
- Connect to the ec2 instance and clone the repo
# Connect to the instance
$ ssh -i my_WAVE_app_server_key.pem ubuntu@18.206.192.13
# Clone the repo
$ git clone https://github.com/vopani/waveton
# enter the app's directory
$ cd waveton/apps/skeleton_apps/basic_template
# Create a virtual environment and activate it
$ python3 -m venv venv
$ source venv/bin/activate
# Update pip and install packages from the requirements file
$ python3 -m pip install -U pip
$ python3 -m pip install -r requirements.txt
# Run the app
$ wave run --no-reload app
NOTE: the –-no-reload parameter is used to run the app without reloading to bring CPU utilization down.
- Access the app on <Public IPv4 DNS>: 10101, in the above example, this is: ec2–18–206–192–13.compute-1.amazonaws.com:10101
- The app can be configured to run on port 80 (default port used for HTTP) to omit the port in the URL
# To run the WAVE app on port 80, sudo has to be used and the PATH and the env has to be passed.
# The port of the WAVE app is set by using the H2O_WAVE_LISTEN and the H2O_WAVE_ADDRESS parameters
$ sudo env "PATH=$PATH" H2O_WAVE_LISTEN=":80" H2O_WAVE_ADDRESS='http://127.0.0.1:80' wave run --no-reload app
- Access the app on <Public IPv4 DNS>, in the above example, this is: ec2–18–206–192–13.compute-1.amazonaws.com
NOTE: to run the app on port 80 remember to open the port the same way it is done in the Create an EC2 instance section
- Expected output:
Run a WAVE app with a custom code
As an example app the code that is provided in WAVE’s documentation will be used. In particular, here: https://wave.h2o.ai/docs/tutorial-todo#step-8-add-to-do-and-return
- Connect to the ec2 instance
# Connect to the instance
$ ssh -i my_WAVE_app_server_key.pem ubuntu@18.206.192.13
- Create a directory where all the app-related files will be saved (in this example, it will just be the python script). Then enter the directory, create a new virtual environment, activate it and install h2o-wave
# Create a folder
$ mkdir my_app
# Enter the new directory
$ cd my_app/
# Create the python virtual environment
$ python3 -m venv venv
# Activate the environment
$ source venv/bin/activate
# Install WAVE in the python virtual environment
$ pip install h2o-wave
- Create a python script containing the WAVE app’s code and save it
# Create the python script which will contain the WAVE app code. Create is with nano and then paste the code taken from the WAVE documentation page
$ nano todo.py
- This is the expected output:
- Copy and paste the todo app code that can be found here: https://wave.h2o.ai/docs/tutorial-todo#step-8-add-to-do-and-return (as mentioned above)
- Save the code by pressing ctrl+x, then y and enter.
- Finally, the app is ready to be run.
# Run the wave app
$ wave run --no-reload todo
NOTE: the –no-reload parameter is used to run the app without reloading to bring CPU
- Access the app on <Public IPv4 DNS>: 10101/todo, in the above example, this is: ec2–18–206–192–13.compute-1.amazonaws.com:10101/todo
- The app can be configured to run on port 80 (default port used for HTTP) to omit the port in the URL
# To run the WAVE app on port 80, sudo has to be used and the PATH and the env has to be passed.
# The port of the WAVE app is set by using the H2O_WAVE_LISTEN and the H2O_WAVE_ADDRESS parameters
sudo env "PATH=$PATH" H2O_WAVE_LISTEN=":80" H2O_WAVE_ADDRESS='http://127.0.0.1:80' wave run --no-reload todo
- Access the app on <Public IPv4 DNS>/todo, in the above example, this is: ec2–18–206–192–13.compute-1.amazonaws.com/todo
NOTE: to run the app on port 80 remember to open the port the same way it is done in the Create an EC2 instance section
- Expected output:
Other capabilities
- WAVE can run using with HTTPS by enabling HTTP over TLS, more information can be found here: https://wave.h2o.ai/docs/security/#https
- OpenID connect can be used to authenticate the users. More info can be found here: https://wave.h2o.ai/docs/development/#using-openid-connect and here: https://wave.h2o.ai/docs/security/#single-sign-on
- After creating the WAVE server, the next stage might be that a custom domain name might be needed to be added. A couple of articles on this are:
– https://medium.com/@yashpatel007/how-to-connect-your-amazon-ec2-instance-with-a-domain-name-80ad8959078
– https://stackoverflow.com/questions/18378592/how-to-set-up-custom-domain-for-an-app-on-amazon-ec2