


Setting Up Your Local Machine for H2O AI Cloud Wave App Development
This article is for users who would like to build H2O Wave apps and publish them in the App Store within the H2O AI Cloud (HAIC). We will walk through how to set up your local machine for HAIC Wave App development.
Instructions
Developing with Wave
H2O Wave is a framework for building frontends using only python or R. In this article we will specifically focus on how to set up your Python development environment. To learn more about how to get started writing Wave apps, once your environment is set up, check out this blog .
- Step 1 – Decide where you want to write your applications
- Maybe you love vi or a GUI-based text editor, but we recommend using an interactive development environment (IDE) for Python like PyCharm (the community version is fine!) or VS Code.
- Step 2 – Install the Wave python library into your python environment using
./venv/bin/pip install h2o-wave==0.20.0orconda install -c h2oai h2o-wave==0.20.0- Note: When developing projects, we recommend using a different virtual environment for each project rather than installing python libraries in your main environment. This allows you to easily manage different versions of python and libraries for each project that you are working on. You can create a new virtual environment called
venvusingpython3 -m venv venvor, if you manage python using conda you can useconda create --name venv.
- Note: When developing projects, we recommend using a different virtual environment for each project rather than installing python libraries in your main environment. This allows you to easily manage different versions of python and libraries for each project that you are working on. You can create a new virtual environment called
- Step 3 – Create a file called
app.pyand add the below code.
from h2o_wave import main, app, Q, ui
@app('/demo')
async def serve(q: Q):
q.page["my_form_card"] = ui.form_card(
box='1 1 -1 -1',
items=[
ui.text("My first app!")
]
)
await q.page.save()
- Let’s talk about how this code works:
- Line 1: import the functionalities we need from the Wave library
- Line 4: tell the app how users will access it, in this case, our app will be at
http://<YOUR_DOMAIN>:10101/demo - Line 5: create the function that will handle all user requests including the first time someone comes to the app or any time any user clicks a button. Async just means we can have multiple users interact with our app at the same time without having to wait for each other
- Line 7: On our page (demo) we will create a card called my_form_card which is a UI template from the Wave library called a Form Card – this card is ideal for showing objects like dropdown, buttons, and text to end-users. There are 50+ different types of cards for showing different information to your end-users
- Line 8: Each card has a box attribute that tells the card where on the screen to go. Our form starts in the top (1 1 -1 -1), left-hand (1 1 -1 -1) corner and takes the full available vertical height (1 1 -1 -1) and the full available horizontal width (1 1 -1 -1)
- Line 9: Each card as additional other attributes, form cards require a list of other UI elements to show on the screen
- Line 10: We will use a text element from the Wave library to put some text in our form card
- Line 14: We save all of our UI changes to the Wave server so that end users can see them. The await is related to this being a multi-user, interactive app
- Let’s talk about how this code works:
- Step 4 – Run your Wave code using a terminal from your computer or your IDE:
./venv/bin/wave run app.py- Note: This article suggested you use version 0.20.0+ of H2O Wave. If you are using an older version of the Wave library, please see this guide for additional steps in running your app.
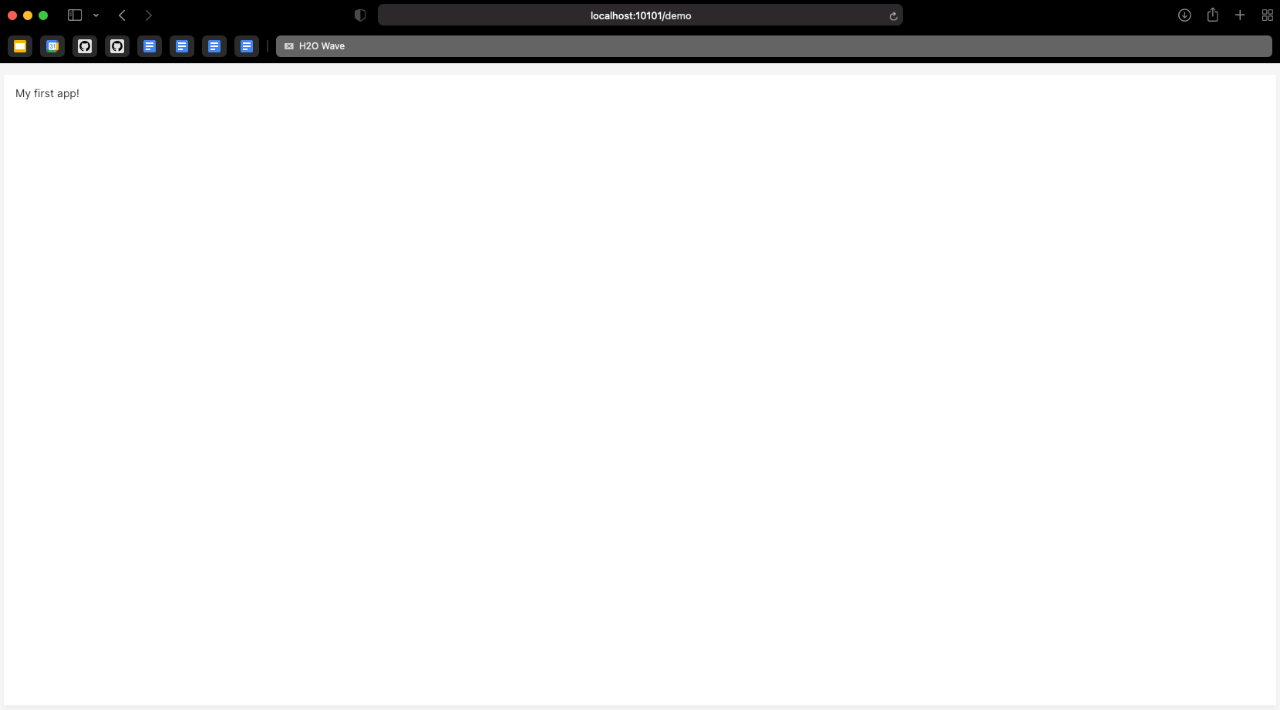
- Step 5 – View the app by typing the following URL in your favorite web browser: localhost:10101/demo
Viewing the App at localhost:10101/demo
We have now set up our local environment for building and running H2O Wave apps. Next, we will configure our connection to the H2O AI Cloud where we will publish our applications.
The H2O Command Line Interface (CLI)
The H2O CLI allows you to interact with the H2O AI Cloud from your terminal. This is easiest way to upload and launch Apps, look at available App Secrets, and allow specific groups of users to access your Apps, among other things. To learn more about what is possible with this tool, check out the documentation .
- Step 1 – Download the latest version of the CLI here
- Note that the CLI is regularly updated with new features! You will want to get the latest version periodically. If the tool is ever behaving “weirdly” or a command does not run as expected the first step is to update your CLI.
- Step 2 – Move the file to somewhere on your
$PATHor add the file’s location to your$PATH. This ensures that you can interact with the platform from anywhere on your computer - Step 3 – Allow the binary to be executable by running
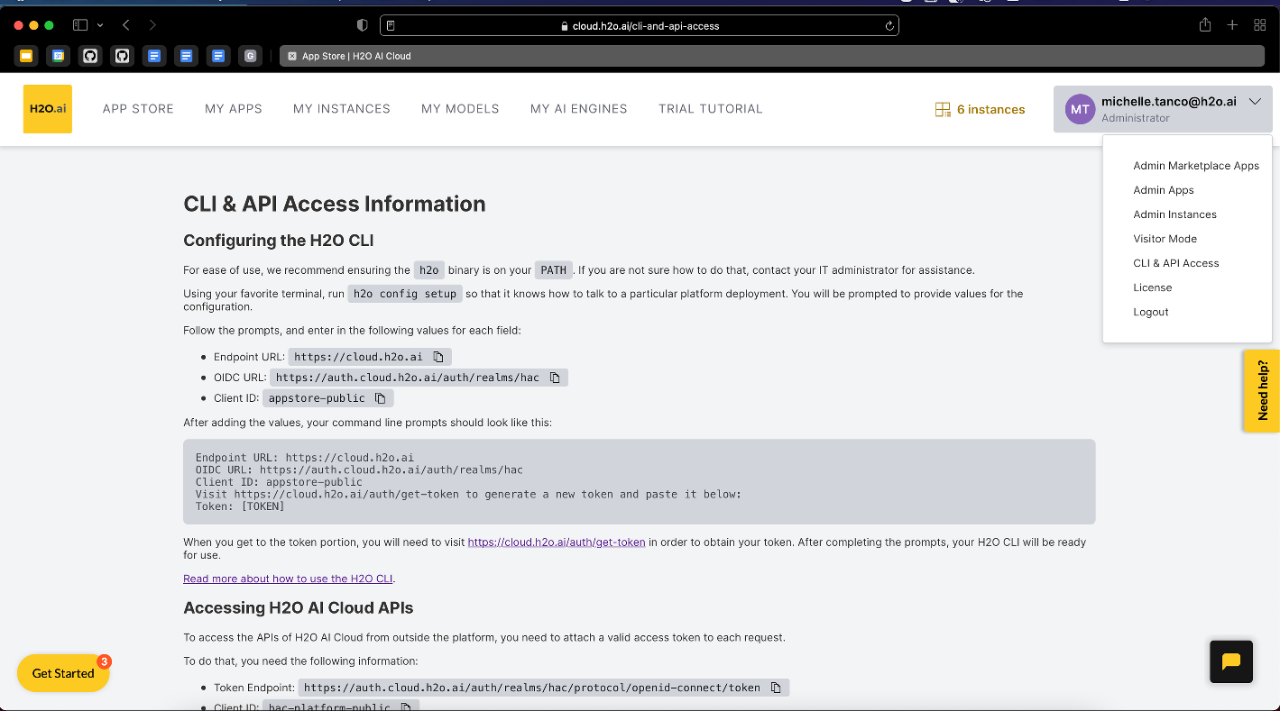
chmod +x h2o - Step 4 – Configure the client to your platform by running
h2o config setup. You will be asked for information which can be found in theCLI & API Accesspage when you click your name on the platform- Note: You can use
h2o -hto get help on how to use the client. This will tell you what features are available and also what parameters to use for a specific command, for example, tryh2o app list -h.
- Note: You can use
CLI & API Access
Uploading Apps
Now that we can build and run Wave apps locally and we can use the CLI to connect with the H2O AI Cloud, we are ready to publish our app. We need 3 files to publish our app into the App Store.
- Step 1 – The source code – we have already created a file called
app.pythat has our app code - Step 2 – The python requirements – make a file called
requirements.txtand add the lineh2o-wave==0.20.0to the file. This tells the App Store which packages and versions to install when running the app.- Note: Always pin your libraries in
requirements.txtto ensure that your app does not break or get unexpected behavior when a new version of a library is available on PyPi.- Wrong:
h2o-wave - Correct:
h2o-wave==0.20.0
- Wrong:
- Note: Always pin your libraries in
- Step 3 – The configuration file – make a new file called
app.tomland add the below text to the file. This will tell the App Store what metadata to show about the app to users in the App Store and also any special rules about running the app. For example, should there be GPUs? Does the end-user need to log in to the app to access the content? etc. You can view all options for this file here.- Note: The
Moduleis the file name of our source code, note that we do not include the.pyfile extension, just the name of the file. If you have all your source code in a folder calledsrcand your main app file calledapp.py, the value forModulewould besrc.app
- Note: The
Example app.toml
[App]
Name = "ai.h2o.wave.my-first-app"
Version = "0.0.1"
Title = "Hello, World!"
Description = "Show a card to the user explaining this is my first app."
[Runtime]
Module = "app"
- Step 4 – Before publicly sharing our app with others, we will privately test that it works as expected. Upload the app into the App Store, and have the App Store run a version of this app for us using our terminal:
h2o bundle deploy
h2o bundle deploy
mtanco@MTanco-MBP15 my_demo_app % h2o bundle deploy
ID 25745b3e-134b-4527-90e2-2a08a015eed4
Title Hello, World!
Version 0.0.1-20220311073405
Created At 2022-03-11 15:34:07.155791 +0000 UTC
Updated At 2022-03-11 15:34:07.155791 +0000 UTC
Owner michelle.tanco@h2o.ai
Visibility PRIVATE
Tags
Description Show a card to the user explaining this is my first app.
Long Description
ID 5d5be5be-228a-4cfa-80f7-a6cb0b46456e
URL https://5d5be5be-228a-4cfa-80f7-a6cb0b46456e.cloud-internal.h2o.ai
mtanco@MTanco-MBP15 my_demo_app %
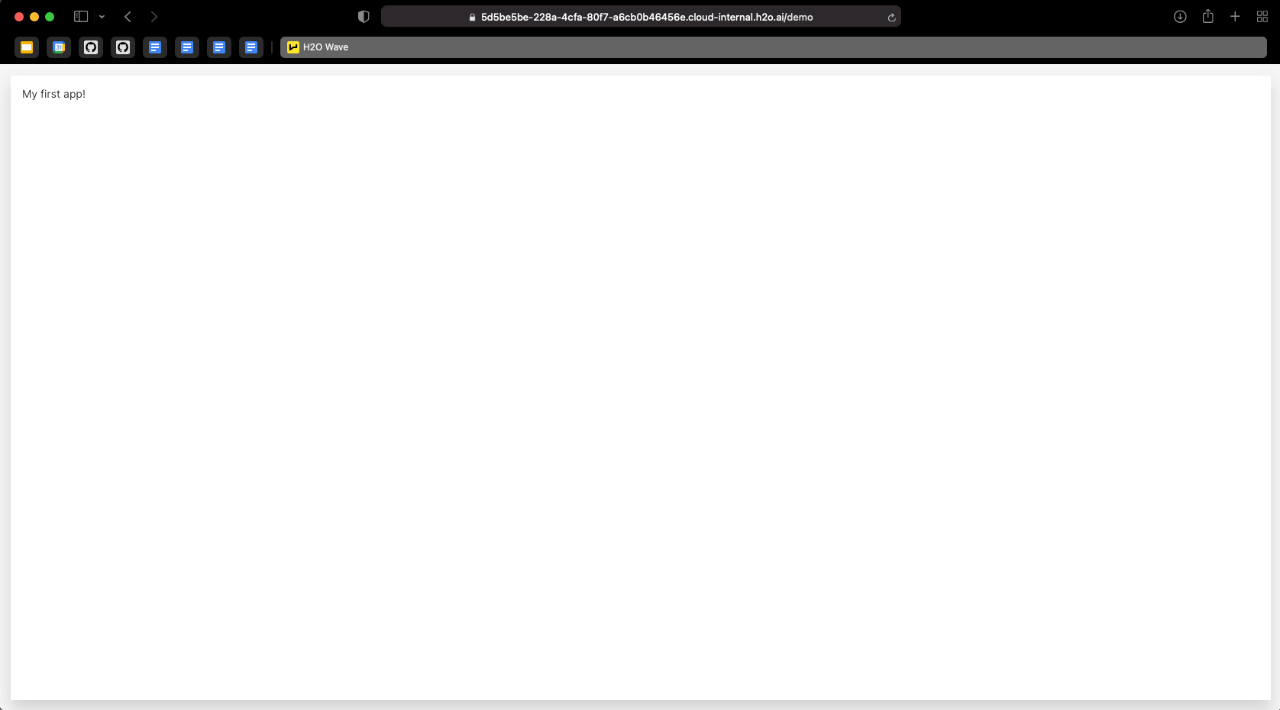
- Step 5 – Append
/demoto the provided URL and visit it to see your running App
Your Wave App on H2O AI Cloud
- Step 6 – We will now re-import the app without auto-running it, and make it available to other users in our App Store:
h2o bundle import -v ALL_USERS. Visit your App Store to see your app!
Conclusions
This article walked us through
- How to set up and run python Wave apps on our local workstation
- How to use the
h2oCLI to connect to an instance of the H2O AI Cloud - The minimum requirements to upload our app from step 1 to the App Store
In a future article, we will discuss additional features for deployed apps to improve the user experience of running and using your app.
How to Get Started
Sign up for a free demo and get hands-on experience with H2O AI Cloud today.